How to Keg Beer Part 1: What You Need to Get Going
There are great many reasons to make the move from bottling to kegging; there’s less cleaning, it’s quicker and your beer is ready to drink sooner, are just some. Despite the various advantages kegging has over bottling, a fair few brewers are reluctant to get into it. To be fair, when you don't know how to keg beer, it can seem quite daunting.
Our 5 part essential guide to kegging covers all the basics, and touches on the more technical aspects, without getting bogged down in jargon. Part 1 looks at what you need to get started.
The Basics of Kegging
Before you learn how to keg beer, let’s take a look at what you will need to get started. It may seem like a lot at first glance, but there are ways to keep your costs low initially, allowing you to build up a bigger setup over time.
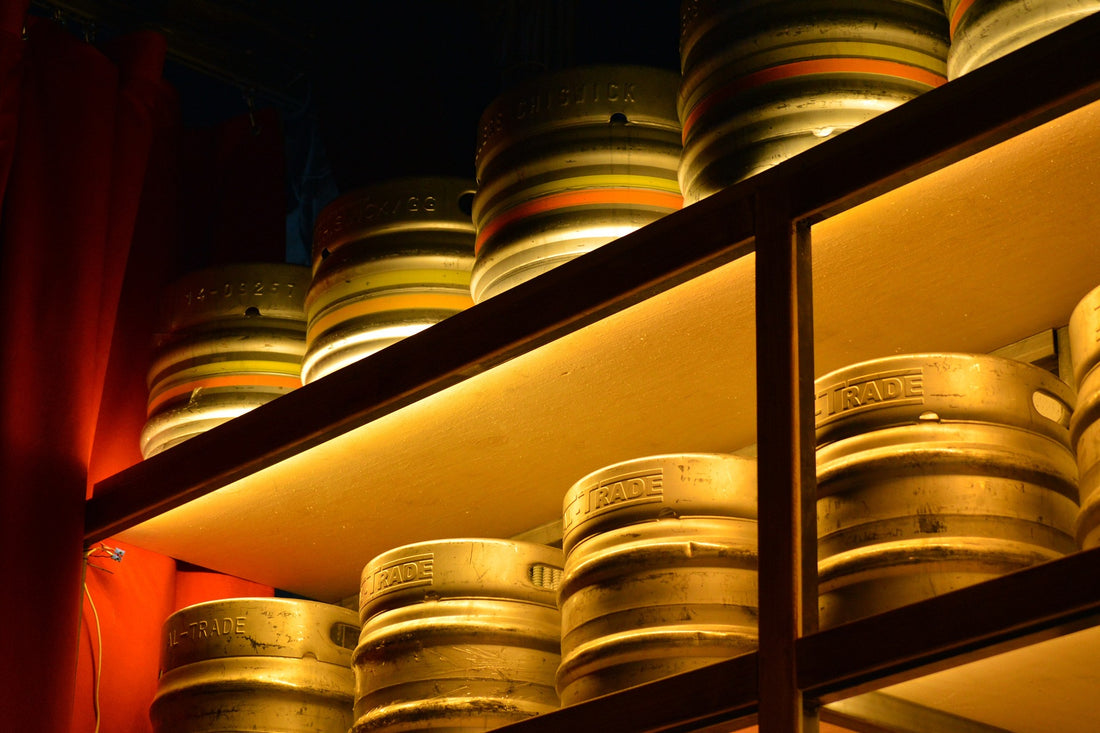
A Keg

First and foremost you will need a keg. The most common keg used by homebrewers is the 19 litre Cornelius (corny) keg, many of which are recycled soda (Coke or Pepsi) kegs. They typically feature 2 quick connects, either pin lock or ball lock, and have a large lid that allows you to access the inside of the keg for easy cleaning and filling.
If 19 litres seems a little too much, you can find a number of smaller sizes here at iKegger. From 2 litre ‘Biebers’ to 10 litre ‘Mandingos’, these smaller tanks fit easily into a regular fridge and are fully portable.
Gas Bottle (CO2)
 Once you learn how to keg beer, you’ll realise just how important co2 is. You’ll need it to carbonate your beer, as well as dispense it.
Traditionally, homebrewers would use anything from a 2.6 kg co2 bottle, to a full size 6 kg bottle as used in breweries and bars. The size of the bottle you buy will depend on how much beer you wish to produce and how regularly. A 2.6 kg bottle will typically carbonate and dispense around 200 litres of beer before it needs to be refilled.
 If you don’t anticipate needing so much, at least initially, there are smaller options. A 400g refillable soda stream cylinder is a great middle ground, and can carbonate and dispense around 50 litres of beer. For the ultimate ease of use, 16g disposable co2 bulbs will carbonate around 4 litres of beer, ideal for smaller kegs, like the ‘Johnson’.
Gas Regulator
 A co2 regulator is essential for slowing down the gas that is stored under very high pressure in the bottle. You’ll use it to set the pressure when carbonating your beer, as well as adjusting the serving pressure.
This is a very easy to use piece of kit, and larger ones typically have 2 displays. The first lets you know how much gas is left in your bottle, and the second shows the pressure at which gas is being dispensed to your keg at.
 Simply turn the dial in the middle to adjust the pressure; clockwise increases the pressure, while anti-clockwise will decrease it. A smaller mini regulator works well with co2 bulbs and soda stream canisters.
Tap & Hose
 There are many types of taps you can use to dispense your beer, from a simple picnic tap, to a more elaborate, fixed position tap, that can be attached to your fridge door. Flow control taps aid in pouring the perfect pint each and every time. Beer and gas line will be required to run gas from your regulator to your keg, and beer from your keg to your tap. Some taps fix directly to the keg, negating the need for a hose.
Beer Fridge
 The final piece of the puzzle is a fridge that you can store your kegs in. What puts a lot of brewers off is a lack of space at home for a new fridge. With smaller kegs however, you can fit them in your normal fridge.
On the other hand, if you want to have 4 Cornies on the go, you’re going to need a separate beer fridge. If you have the space, you might consider building a kegerator. For something a bit more manageable and portable, a converted jockey box will comfortably hold 10 litres of beer.
 While it seems like there’s a lot of things to get your hands on, it really is worth it in the long run. Once you start kegging, you won’t look back! iKegger offers a variety of homebrew kegging packages, supplying you with everything you need to get going, making it even easier than ever!
In part 2 of our essential ‘How to Keg Beer’ guide, we’ll take a look at cleaning and prepping your kegs, with a few tips and tricks to make your life easier. After that, we’ll discuss filling the kegs in part 3, cold crashing and carbonating in part 4, and finally how to serve your kegged beer in part 5.
Cheers!