How to Keg Beer Part 5: Serving the Perfect Pint
The final part of our essential guide on how to keg beer takes a good look at the most important part; serving and savouring your kegged homebrew. Draft beer at home not only tastes great, but it’s also quicker, easier and less risky than bottling. Serving it properly can be challenging at first, but with a few tricks up your sleeve, it’s an easy task to master.
Below we’ll look at how it’s done, and how to overcome any potential issues.
How to Serve Draft Beer at Home
 Once your homebrew is nicely carbonated, the wait is finally over and you can savour the fruits of your labour. On paper, this looks like a relatively easy task, and all going well, it will be in practice. Following these steps will certainly get you off on the right foot.
- Shut off your gas regulator and vent the excess co2 from your keg if you’ve used the shake and carbonate technique. Bear in mind that it’s best to avoid repeatedly venting a carbonated keg of beer, as this can scrub hop and malt aromatics, potentially leaving you with a ghost of your former beer!
- Set your regulator to the correct serving pressure, typically between 10 and 12 psi. Certain styles may require a higher serving pressure, such as wheat beers which are typically best at around 16 psi. Once you open the valve to the keg, the pressure on your regulator may drop. In this case, simply adjust your regulator until it’s at the right level again.
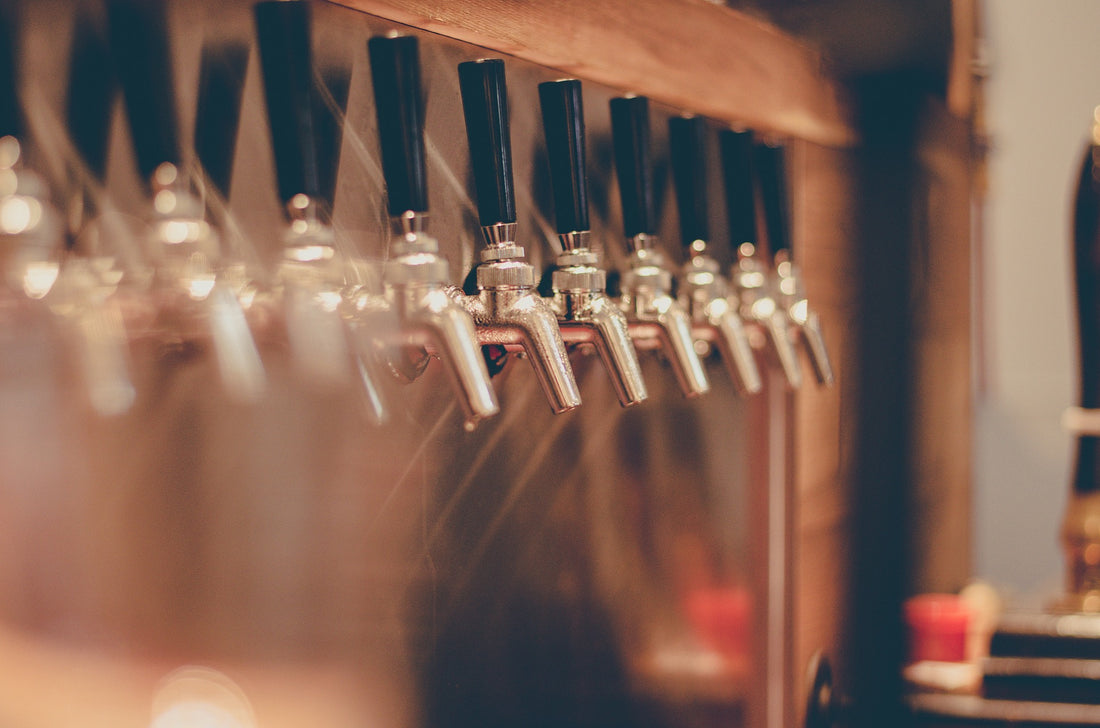
- Fix your tap to the liquid (out) post on your keg, ensuring it’s closed. Depending on your setup, you might fix the tap directly to the keg, or run a hose from the keg to the tap.
- With the gas on, open the tap fully and let the beer flow. If you only open your tap partially, you’ll end up with a foamy mess!
- Remember, hold your glass at an angle at first. If there’s a little too much head, tilt the glass a little more, and if there’s not enough, straighten it out and pour into the centre.
The First Pour
The first pour will always be a little iffy, so don’t despair if things aren’t looking too good straight away. Your first cause for concern you might be that the beer spits out off the tap, especially if you’re using a hose, causing excess foaming. This isn’t a problem, and is simply the air in the hose being displaced by beer. Keep the tap open until the beer runs smoothly.
When you continue to pour, you’ll probably find that the beer in your first glass is rather cloudy. Again, this is no real cause for concern. The dip tube in most kegs almost touches the bottom, where there is a layer of sediment; yeast and hop particles that dropped out of suspension during cold crashing. You may need to pour a pint or 2 before the beer clears up. You can drink this beer, though it might be a little yeasty.
To combat this problem, you can try cutting or bending your dip tub so it only reaches clear beer. Alternatively, use a floating dip tube, which takes beer from the top of the keg, rather than the bottom. A final alternative favoured by some brewers, is to transfer the clear beer into a separate serving keg — ideal if you plan to travel with it and it won’t have time to settle out.
Problems with Keg Beer and How to Solve Them
With well carbonated beer and a draft system that is set up correctly, your beer should flow smoothly, giving the perfect pint each and every time. The first time you try draft beer at home however, you may find you need to tweak a few things.
Balancing Your Draft System
If your beer is running to the tap via a hose and your beer is foamy, you can try using a longer run of hose. This helps reduce the pressure at which the beer comes out at. You may be surprised at how much hose you need, with runs of in excess of 3 metres not uncommon. In order to reduce that length, you can add a shorter run of thinner hose between the keg and tap.
Both create resistance, slowing down the speed at which your beer is coming out of the tap. The idea behind balancing your lines, is that the pressure in the keg is negated in the lines, preventing beer from gushing out of the tap too fast. There are calculations you can use, but a good rule of thumb is for a 5℃ corny at 12 psi serving pressure, between 3.5 and 4 metres of 6 mm beer line should do the trick.
An alternative solution is to invest in a flow control tap, which can be adjusted to ensure the perfect pour each time.
The Beer is Still too Foamy
Among the most common problems that homebrewers have with their keg setup, is overly foamy beer. This can be immensely frustrating after the 4th glass of foam, but if you’re certain your lines are balanced, the issue can be resolved in a number of other ways.
First, check that your regulator is still at the correct setting, it might have increased in pressure, leading to beer that foams too much. If this is the case, lower the pressure until it flows nicely. On the other hand, if the pressure is too low, this can lead to air pockets in the hose, also causing the beer to foam.
You can also check the temperature of your beer; if it’s too warm, it will foam more than a colder pint. Dirty beer lines, dip tubes or taps can all cause beer to ‘fob’ or foam, as the flowing beer catches on particles of solidified yeast, hops or proteins. If in doubt, give everything a deep clean.
Finally, you might have over carbonated your beer. In this case, disconnect the gas from your keg and release the pressure in the head space. Wait a couple of hours or so for co2 to leave the beer and fill up the head space, before trying again. Continue this procedure until the correct level of carbonation is reached.
The Beer is Flat
If your beer is pouring flat, it’s most likely that it hasn’t carbonated fully and needs a little longer under pressure. In this case, simply remove the tap, and set the regulator to the correct carbonation pressure. Check daily until the desired carbonation level is reached.
If you’re certain that the beer was carbonated properly, the issue may be that the beer is too cold; check the temperature and adjust your fridge/kegerator if needed. On the other hand, there may be too much resistance in your beer lines, which could mean they’re too long, or too thin.
The hard work is over and now all that’s left to do is sit back and enjoy your very own draft beer at home, you’ve earned it!